Fudgy Mini Heart Cake Pops
Highlighted under: Easy Baking Recipes
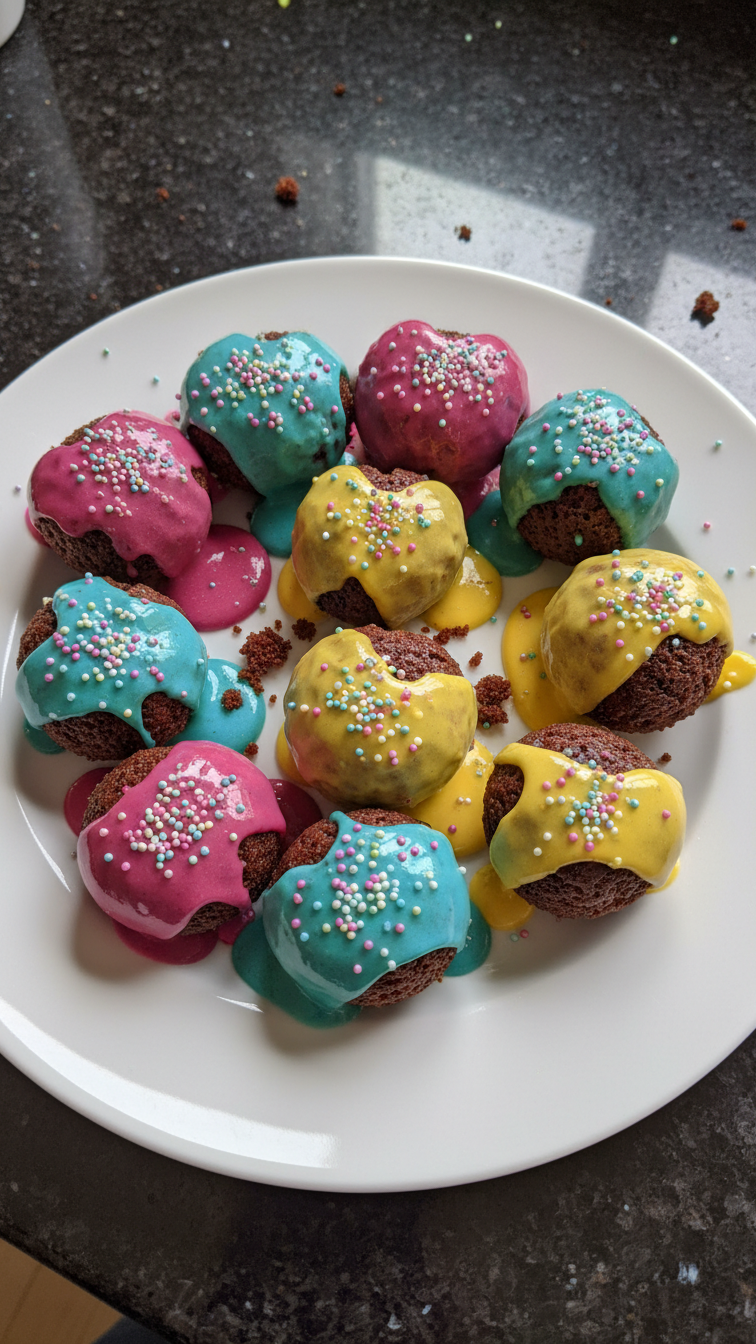
I absolutely adore making Fudgy Mini Heart Cake Pops, especially for special occasions. The moment I pop one into my mouth, I’m greeted with a rich chocolate explosion and a delightful hint of sweetness. These little treats don’t just look charming, they also pack a fudgy punch that is simply irresistible. It’s a great way to use up leftover cake or frosting and create a fun dessert that everyone can enjoy. I can't wait to share how simple it is to whip these up at home!
When I first tried making cake pops, I was surprised at how easy it actually was! I used leftover chocolate cake mixed with some cream cheese frosting, and the results were deliciously fudgy. The method works because the frosting binds the cake crumbs perfectly, ensuring that they hold their shape when rolled into balls.
One tip that changed my game was dipping the sticks in chocolate before inserting them into the pops. This little trick ensures they stay anchored and don’t slide out when you’re enjoying your treat. Trust me, it makes a world of difference!
Why You'll Love This Recipe
- Irresistibly moist and fudgy chocolate flavor
- Cute heart shape perfect for gifting or special occasions
- Simple ingredients and easy steps make it a fun baking project
Mastering the Fudge Factor
The secret to achieving that irresistible fudgy texture lies in the ratio of cake crumbs to frosting. Aim for about 2 parts cake to 1 part frosting; this balance ensures that your cake pops won’t dry out but will still hold their shape. Too much frosting can make them overly sweet and sticky, while too little will yield a crumbly texture that falls apart. I recommend starting with the specified amounts but feel free to adjust slightly, tasting as you go to find that perfect fudgy consistency.
When shaping your pops, you can use your hands to roll them into balls or heart shapes. Keep the size consistent; about 1 inch is ideal, as they will firm up better and be easier to coat. For the best results, work in batches and keep the mixture cool in the fridge if you find it getting too warm and sticky. A chilled mixture will shape easier and yield a smoother final product.
Perfecting Chocolate Coating
Melting the chocolate candy melts can be tricky if you’re not careful. For a smooth, glossy finish, microwave in 30-second intervals, stirring in between. Stop heating as soon as the chocolate is melted and smooth to avoid burning, as overheated chocolate can seize up and become unusable. If your melts aren’t melting as smoothly as you’d like, try adding a teaspoon of coconut oil to achieve that desired consistency.
When it comes to coating the cake pops, dip them straight down into the melted chocolate, ensuring they’re fully submerged. Tap gently on the side of the bowl to encourage excess chocolate to drip off; this will help create a thinner layer for a less messy finish. If you want a thicker coating, you can double dip after the first layer has set, but let the initial coat harden slightly first.
Ingredients
Gather these simple ingredients to get started on your Fudgy Mini Heart Cake Pops:
For the Cake Pops
- 2 cups of chocolate cake crumbs
- 1 cup of cream cheese frosting
- 8 ounces of chocolate candy melts
- Lollipop sticks
- Sprinkles for decoration
With these ingredients on hand, you're ready to create delicious and visually appealing heart cake pops!
Instructions
Follow these easy steps to whip up your Fudgy Mini Heart Cake Pops:
Prepare the Cake Mixture
In a large bowl, combine the chocolate cake crumbs with the cream cheese frosting. Mix well until fully incorporated and the mixture holds together.
Shape the Cake Pops
Take small portions of the mixture and shape them into heart forms or balls, as preferred. Place them on a parchment-lined baking sheet.
Chill the Pops
Refrigerate the shaped cake pops for about 15 minutes until they firm up.
Melt the Chocolate
Melt the chocolate candy melts in a microwave-safe bowl, heating in 30-second intervals until completely smooth.
Insert Sticks
Dip the end of each lollipop stick into the melted chocolate, then insert it into the chilled cake pops. This will help them stay on the stick.
Coat in Chocolate
Once the sticks are inserted, dip each cake pop into the melted chocolate and let the excess drip off.
Decorate
Before the chocolate sets, sprinkle your choice of toppings onto the cake pops.
Let Set and Serve
Place the decorated cake pops into a styrofoam block or a glass to set. Once the chocolate has hardened, they’re ready to enjoy!
Enjoy your Fudgy Mini Heart Cake Pops at your next gathering!
Pro Tips
- Make sure to keep the cake pop mixture moist but not too sticky. Adjust the amount of frosting based on your cake's dryness. To make them even more fun, use colored candy melts for different occasions!
Storage and Make-Ahead Tips
Fudgy Mini Heart Cake Pops are fantastic for making ahead of time. Once fully cooled and decorated, place them in an airtight container and store them in the refrigerator for up to a week. For longer storage, consider freezing them. Simply freeze the uncoated cake pops on a baking sheet until firm, then transfer them to a freezer-safe bag. They can last in the freezer for up to three months. When ready to serve, just coat them with chocolate after thawing.
To ensure they stay fresh and delicious, avoid stacking your cake pops in the container. Instead, use a layer of parchment paper between them or stand them upright in a glass or styrofoam block to prevent them from sticking together.
Creative Variations
If you're feeling adventurous, consider swapping out the chocolate cake for vanilla or red velvet to create unique flavors. For a fun twist, you can infuse the frosting with flavors such as peppermint or orange zest. This will give your cake pops a delightful surprise with every bite. Alternatively, instead of traditional chocolate coating, try using white chocolate and drizzling it over for a beautiful contrast that still tastes delicious.
You can also customize the decorations! Use various types of sprinkles, edible glitter, or even crushed nuts for texture. For a more sophisticated touch, drizzle melted chocolate in contrasting colors on top for a gourmet presentation. This makes them not only tasty but stunning to look at, perfect for any occasion.
Questions About Recipes
→ Can I use any type of cake for these pops?
Yes, you can use any type of cake, but chocolate cake gives the best fudgy result!
→ How do I store the cake pops?
Store them in an airtight container in the refrigerator for up to a week.
→ Can I freeze cake pops?
Absolutely! Wrap each pop individually in plastic wrap and freeze for later enjoyment.
→ What if my chocolate isn’t smooth?
If your melted chocolate is thick, adding a small amount of vegetable oil can help smooth it out.
Fudgy Mini Heart Cake Pops
Created by: The Bitecraftrecipes Team
Recipe Type: Easy Baking Recipes
Skill Level: Easy
Final Quantity: 24 cake pops
What You'll Need
For the Cake Pops
- 2 cups of chocolate cake crumbs
- 1 cup of cream cheese frosting
- 8 ounces of chocolate candy melts
- Lollipop sticks
- Sprinkles for decoration
How-To Steps
In a large bowl, combine the chocolate cake crumbs with the cream cheese frosting. Mix well until fully incorporated and the mixture holds together.
Take small portions of the mixture and shape them into heart forms or balls, as preferred. Place them on a parchment-lined baking sheet.
Refrigerate the shaped cake pops for about 15 minutes until they firm up.
Melt the chocolate candy melts in a microwave-safe bowl, heating in 30-second intervals until completely smooth.
Dip the end of each lollipop stick into the melted chocolate, then insert it into the chilled cake pops. This will help them stay on the stick.
Once the sticks are inserted, dip each cake pop into the melted chocolate and let the excess drip off.
Before the chocolate sets, sprinkle your choice of toppings onto the cake pops.
Place the decorated cake pops into a styrofoam block or a glass to set. Once the chocolate has hardened, they’re ready to enjoy!
Extra Tips
- Make sure to keep the cake pop mixture moist but not too sticky. Adjust the amount of frosting based on your cake's dryness. To make them even more fun, use colored candy melts for different occasions!
Nutritional Breakdown (Per Serving)
- Calories: 150 kcal
- Total Fat: 8g
- Saturated Fat: 4g
- Cholesterol: 20mg
- Sodium: 50mg
- Total Carbohydrates: 18g
- Dietary Fiber: 1g
- Sugars: 10g
- Protein: 1g